The Microsoft Assessment and Planning Toolkit (MAP) is an agentless, automated, multi-product planning and assessment tool for quicker and easier desktop, server and cloud migrations.
MAP provides detailed readiness assessment reports and executive proposals with extensive hardware and software information, and actionable recommendations to help organizations accelerate their IT infrastructure planning process, and gather more detail on assets that reside within their current environment. MAP also provides server utilization data for Hyper-V server virtualization planning; identifying server placements, and performing virtualization candidate assessments.
MAP Toolkit is currently discontinued, but given its popularity, it's still made available for download via the Microsoft website.
The MAP Toolkit includes the following components:
1. MAPSetup.exe. Installation package containing the tool and SQL LocalDB.
readme_en.htm. Available as a separate download. Provides information to read before installing the MAP Toolkit, including installation prerequisites and known issues.
2. MAP_Sample_Documents.zip. Available as a separate download. Contains sample reports and proposals.
3. MAP_Training_Kit.zip. Available as a separate download. Contains a sample database and instructions for completing various exercises.
Instructions
Before proceeding to the installation steps, please take into account:
- MAP Toolkit is only compatible with Windows operating systems;
- We do not recommend installing MAP Toolkit on a virtual PC and/or with a pre-existing SQL server. Please use the default SQL Server Express included in the MAP Toolkit installation.
To install MAP Toolkit, follow the official instructions section here, or follow the below steps:
1. Download MAP Toolkit from here;
2. Run the executable as Administrator and click "Next";

3. Accept License Agreement terms and click "Next";

4. Choose the install location (standard is C:\Program Files\Microsoft Assessment and Planning Toolkit) and click "Next";

5. Click Install on the next screen and wait for the program to install;
Setup local DB
1. Open the Microsoft Assessment and Planning Toolkit (as administrator);
2. If MAP is not requesting automatically, from the menu, choose: File -> Select a Database.
3. Create an inventory database by providing a name and optional description and click OK;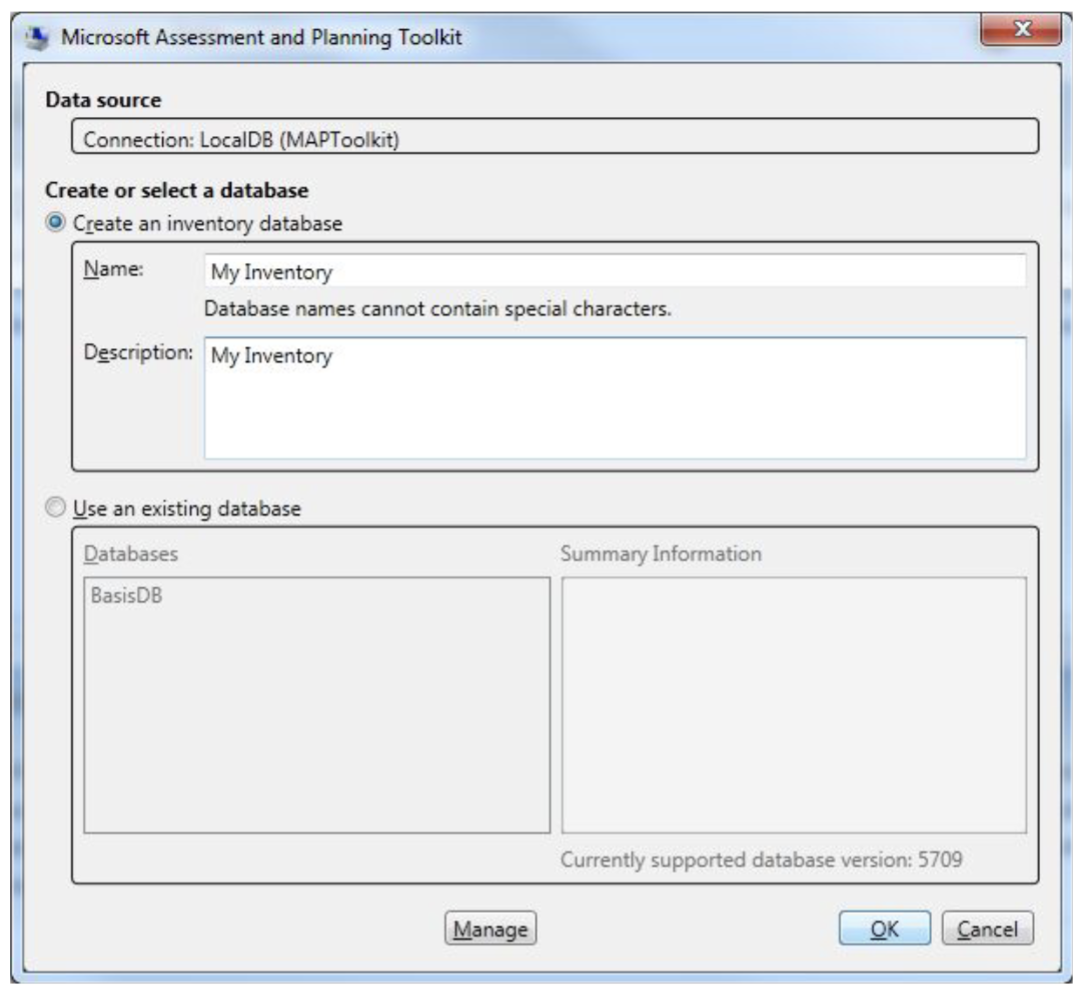
Scan
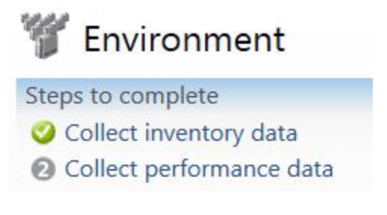
4. From the menu on the left side of the screen, choose Environment and select: Collect
inventory data;
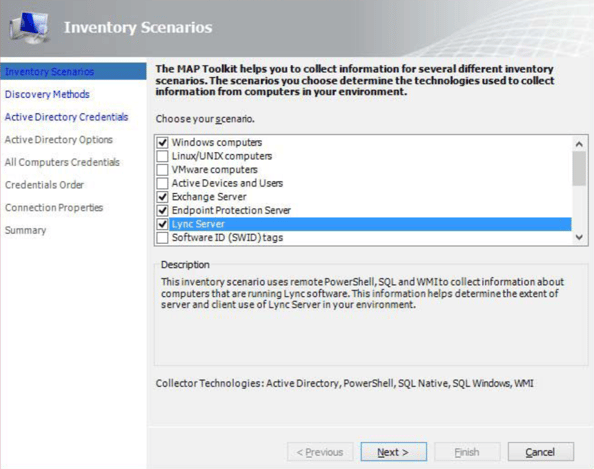
5. Select the scenarios that should be inventoried. This should be at least:
-
Windows computers;
- Exchange Server;
- Endpoint Protection Server;
- Lync Server;
- SQL Server;
- SQL Server with Database Details;
- Windows Azure Platform Migration;
- Windows Volume Licensing;
- Client Access Tracking for Windows Server 2012 or Later;
- Client Access Tracking for SQL Server 2012 or Later;
- Client Access Tracking for Configuration Manager;
- Client Access Tracking for SharePoint Server 2013;
- Client Access Tracking for Remote Desktop Services;
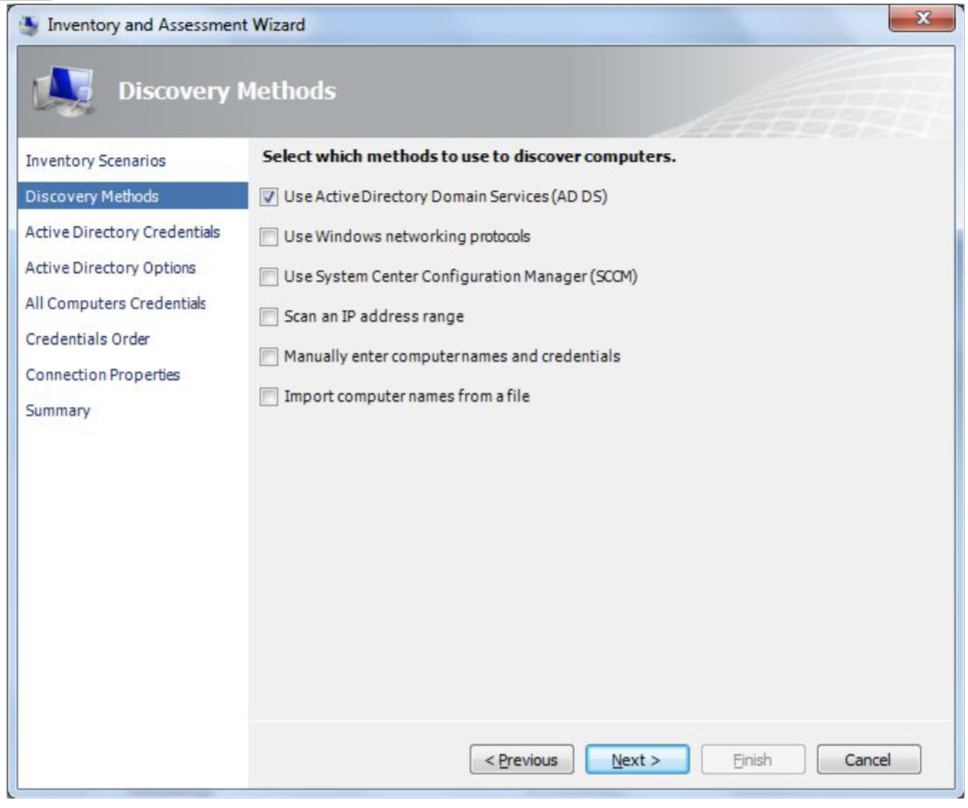
6. Select how you want to discover the computers in your network. It is recommended to use the AD domain services (assumed in the next steps);
7. Provide the domain name and a domain account and password (use an account with at least administrator rights otherwise only a few machines will be inventoried);
8. Please make sure the domain account is domain\user or user@domain.com ;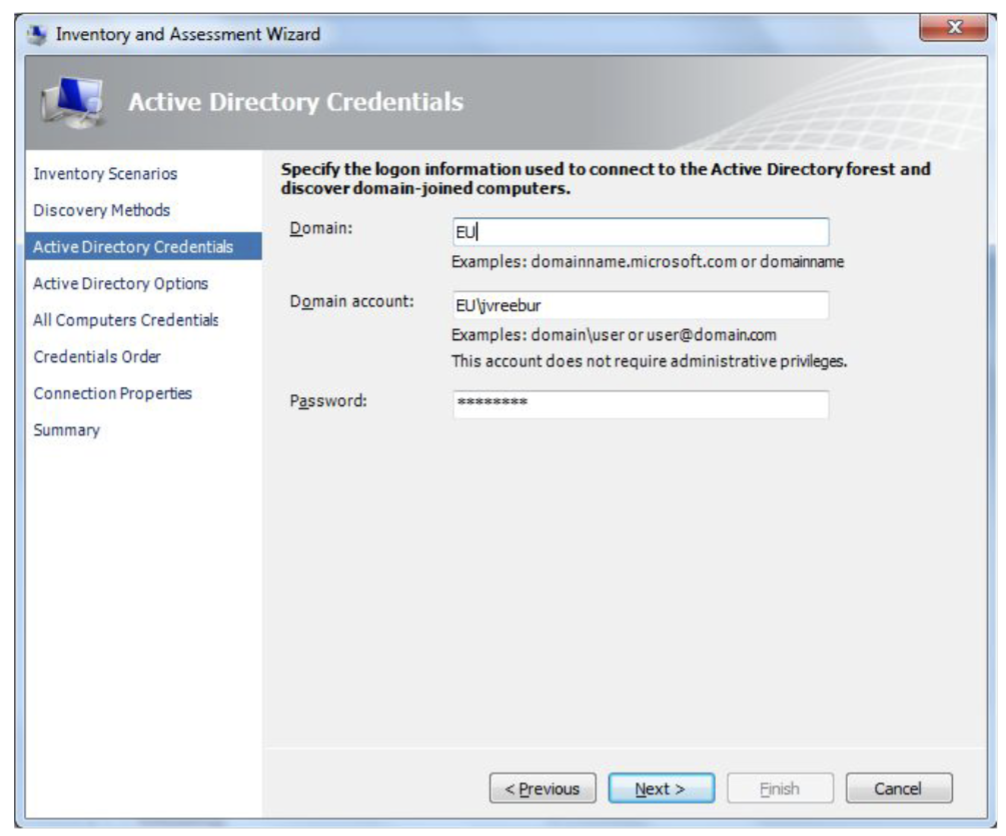
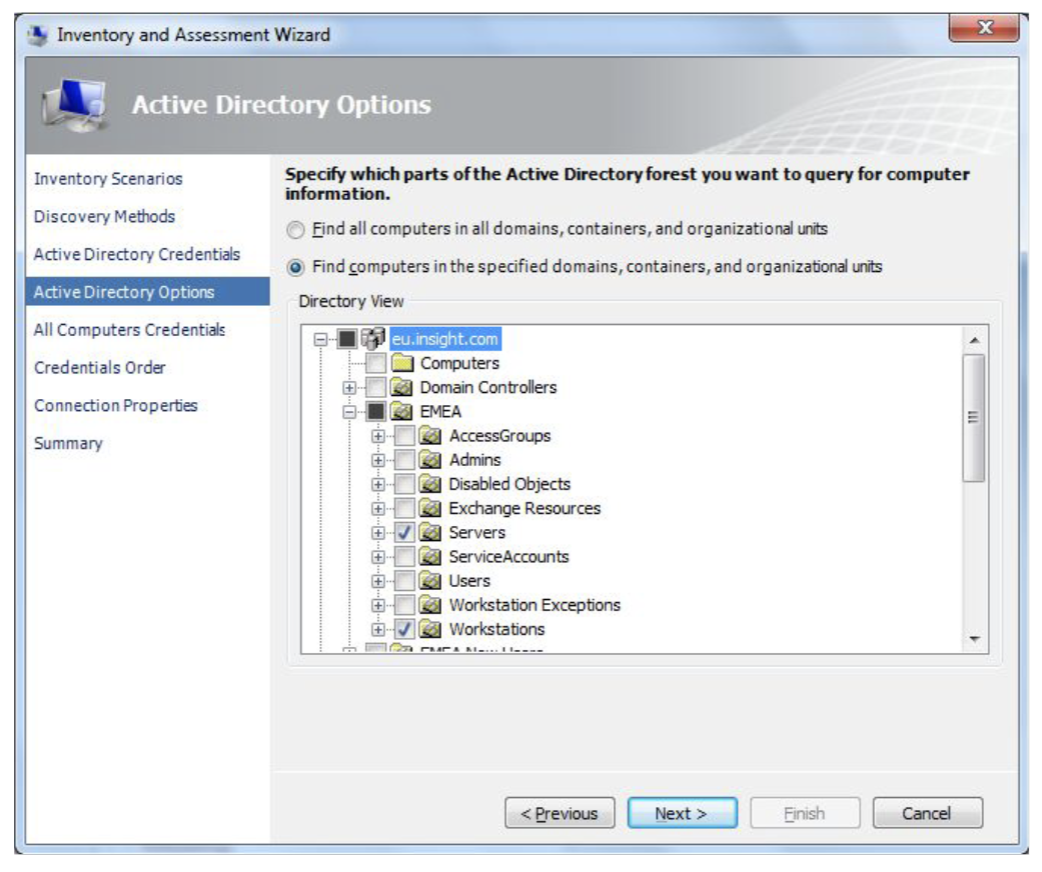
9. If you need to limit the scan, select the containers and organization units that need to be
included;
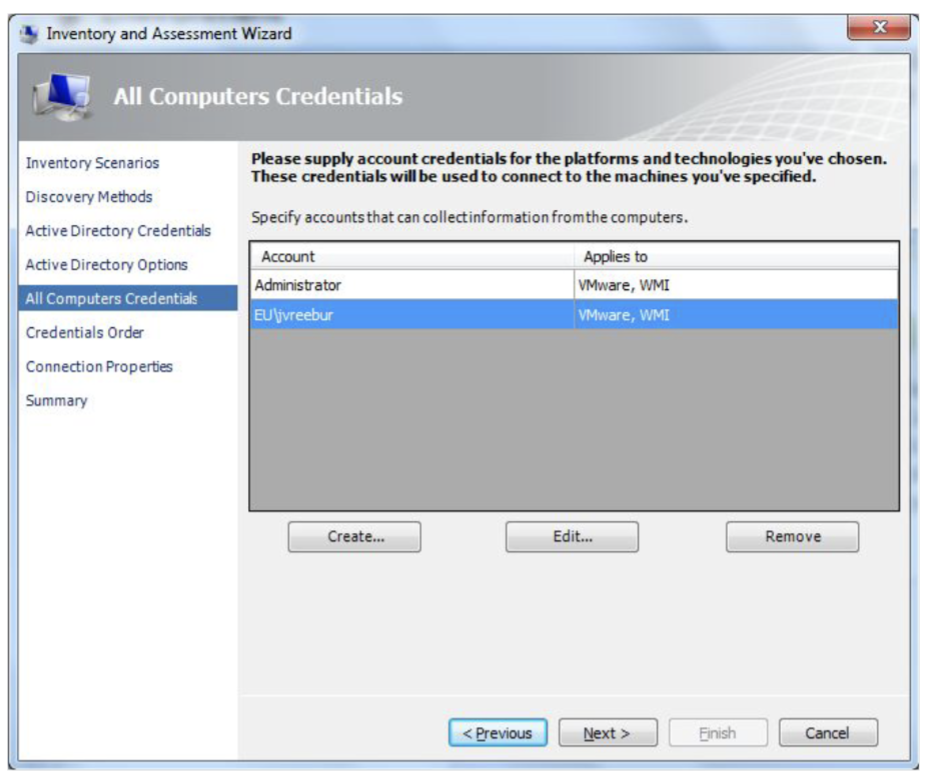
10. Enter one or more account credentials that have at least read access to the technology used for scanning. At least one account for WMI, AD, PowerShell, and SQL Windows;
11. Please check the option Validate credentials with the Domain Controller. This decreases
chances for mistakes in the account;
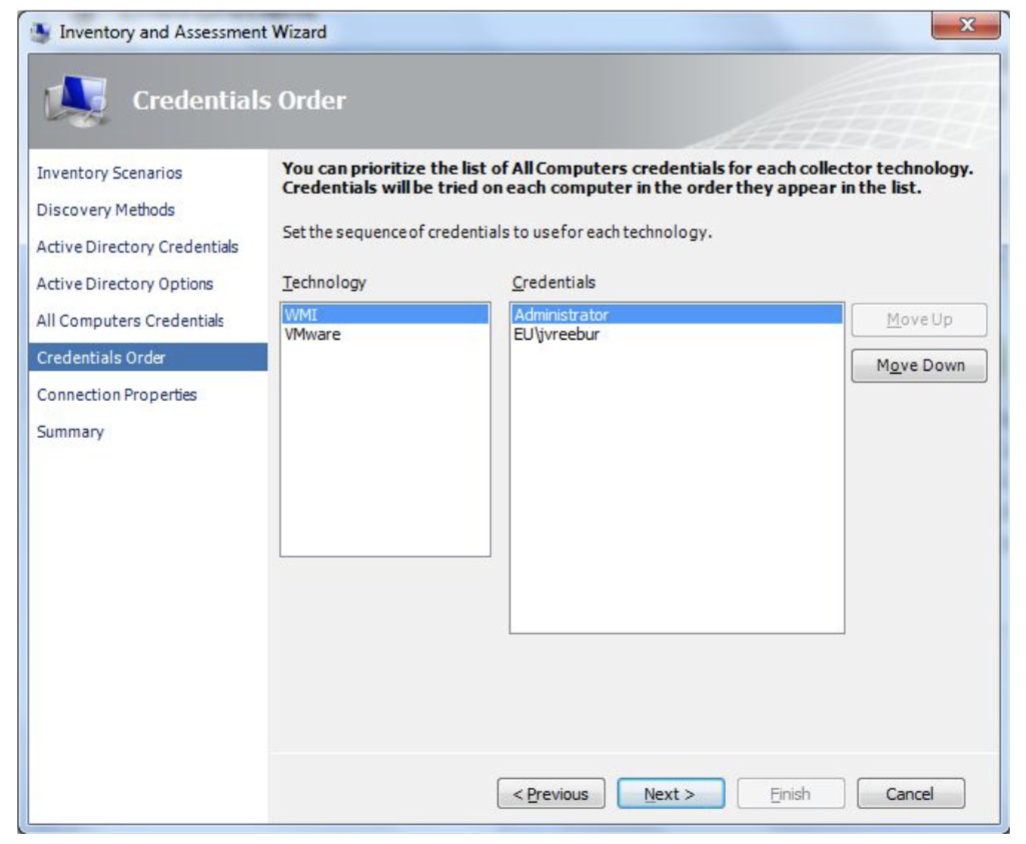
12. If required, specify the order in which credentials should be applied during the scan;
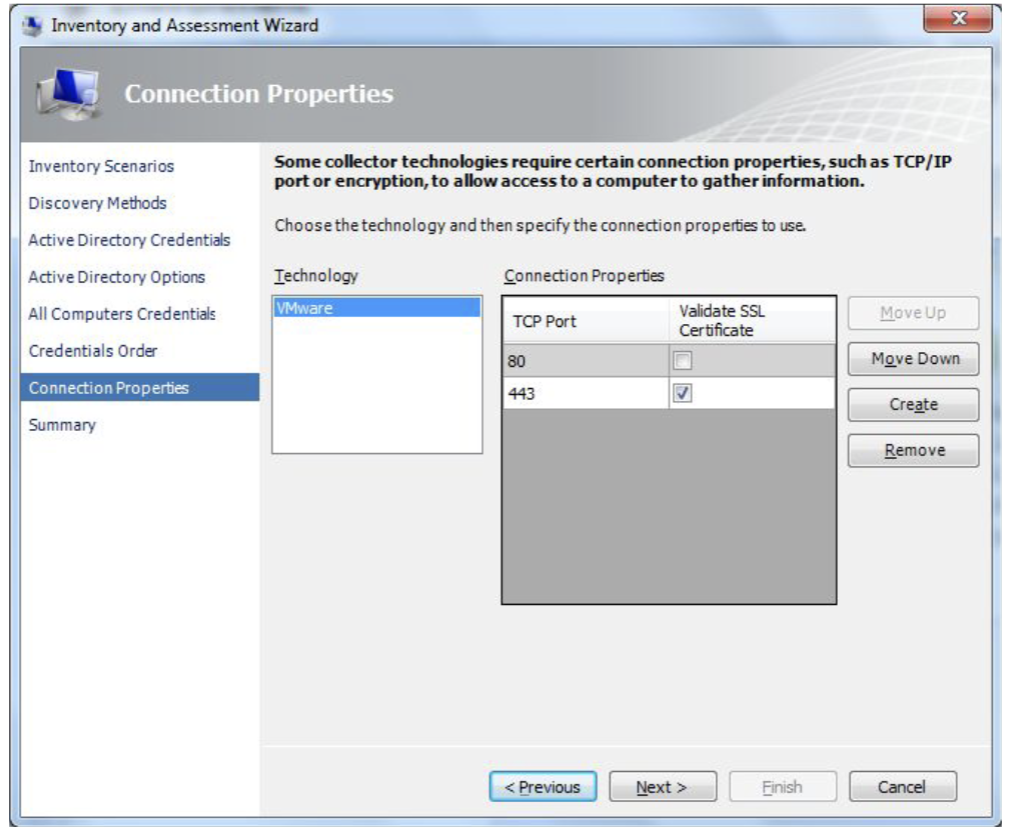
13. If required, specify connection properties;
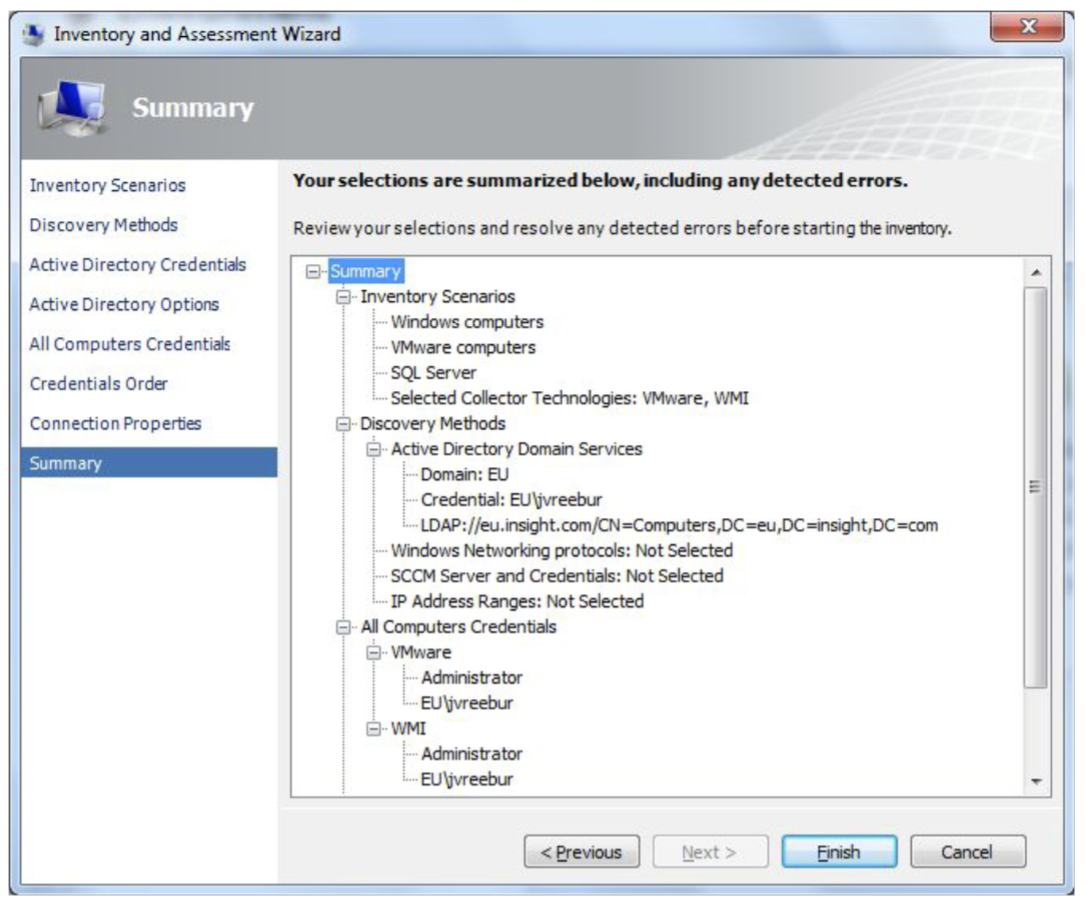
14. Review your configuration. If an error is shown, it explains what is needed;
15. The discovery process will start. It will take some time until all data is collected.
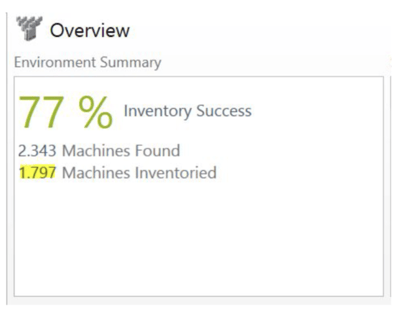
If the number of machines inventoried seems low, please rescan and try the other method of
domain account as described on page 6 (user@domain.com instead of domain\user or the
another way around).
Please be aware that not all computers may be switched on or connected to the
network at the time of discovery. Make sure to re-run the collection process a few times in order to make sure you capture all or as many devices as possible.
Related articles
For more information on exporting the MAP Toolkit DB dump and analyzing it MDM, we recommend reading this article: